
 .

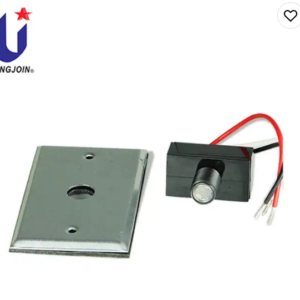
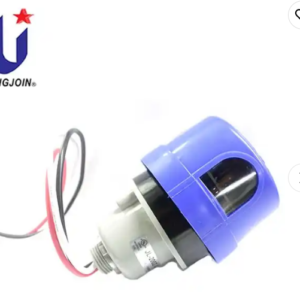
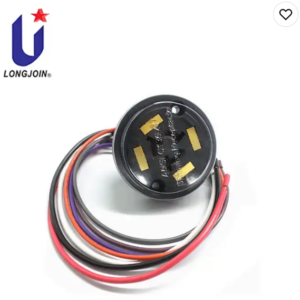
 InstalacjaDisconnect power, remove junction box cover, place the SWITCH in knockout hole and fasten with lock-nut.Wire according to the diagram :Do not install the switch with the Photocell facing artificial or reflected light. This will cause the unit to cycle on and off at night.
 Initial Testing. It is normal for the SWITCH to take few minutes to turn off when first installed.. To test “turn on” during daytime, cover its eye with black tape or other opaque material.. Do not cover with finger because light traveling through fingers may be great enough to keep the switch open.. Test will take approximately 2 minutes.Operation depends on the specified temperature, humidity, ingress protection and complete installation. Confirm the exact model operating conditions.Accessory

| Product type | Direct wire-in thermal photocontrol, traditional button type |
|---|---|
| Listing | Datasheet states the product is listed by UL LLC to UL773A (non-industrial photocontrols) |
| Time delay | 20–120 seconds |
| Operating levels | Turn-on 10–20 lx, turn-off 30–60 lx |
| Częstotliwość znamionowa | 50/60 Hz |
| Power consumption | 1.5 W max |
| Temperatura otoczenia | −40 °C to +70 °C |
| Wilgotność względna | 96% |
| Fail mode | Fail-On |
| Enclosure | UV-stabilised polycarbonate |
| Rainproof cap | Optional |
| Lead length | 4 in minimum |
| Lead specification | AWG#18 AWM1015 on the 500 W versions; AWG#16 AWM3321 on the 1500 W and 2000 W versions |
| Load capability | 500 W / 850 VA, 1500 W / 1500 VA or 2000 W / 2000 VA depending on version |
| Voltage versions | 120 VAC, 220–240 VAC, 208–277 VAC, 277 VAC, 347 VAC and 480 VAC versions are listed; the model suffix determines which applies |
Values as printed in the JL-103 EN 2305V5 datasheet. The datasheet certification row carries no certificate number; the UL statement above is as worded in the datasheet and is not a certificate reference. Per-model voltage and load mapping remains in the model chart.
No. JL-103 is presented as a direct wire-in thermal photocontrol. Confirm the wiring diagram, knockout mounting dimensions, supply voltage and lamp load for the exact model; do not treat it as a plug-in NEMA controller.
Follow the installation instructions and avoid artificial or reflected light reaching the sensor, which can cause on/off cycling. A qualified installer should isolate power and verify the wiring and enclosure arrangement before installation.
Request the applicable UL record for the exact model and configuration, and confirm operating temperature, ingress protection and installation conditions. A standard reference or a family-level statement does not replace product-specific documentation.
See wire-in photocells, photocontrol product selection, and selection and installation FAQs.