Контур
- Введение
- Why Is Precision Torque Application Essential for JL-700 Жага Гнездо Installation?
- How To Avoid Installation Mistakes Through Best Practices?
- What Are the Key Dos and Don’ts for Reliable JL-700 Socket Installation?
- Where Can Installers and Engineers Find Additional Technical Support?
- How Should JL-700 Sockets Be Inspected After Installation?
- Итог
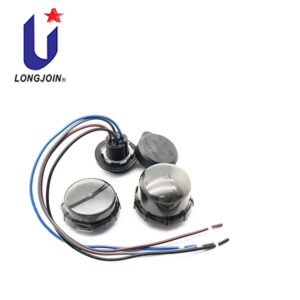
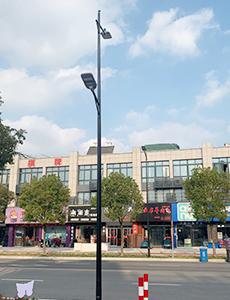
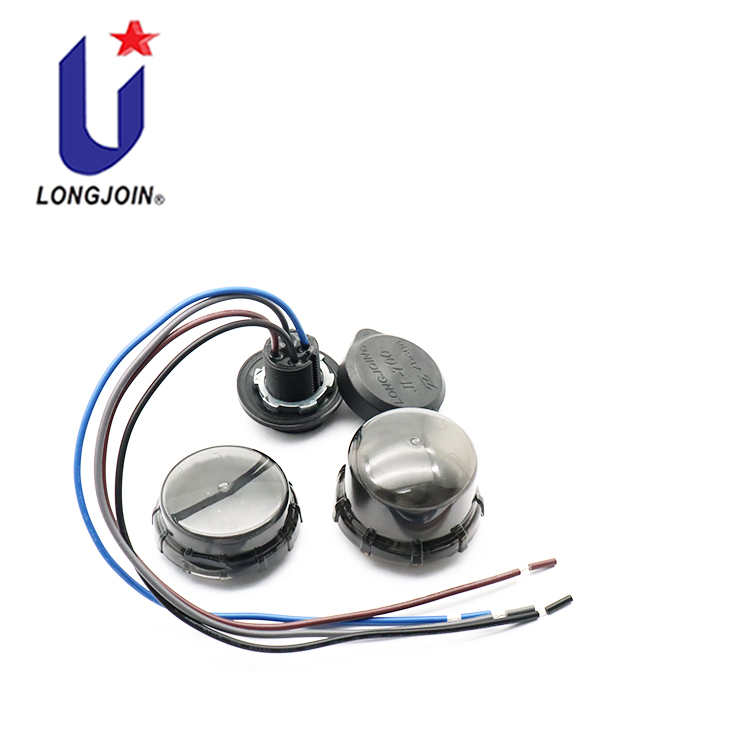
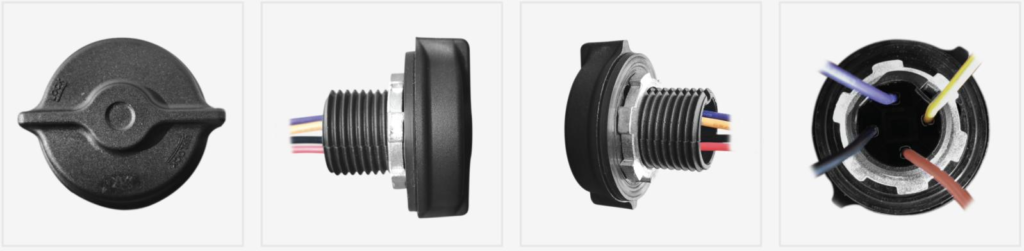
In smart street lighting, installation precision is not a luxury—it’s essential. The JL-700 Жага Гнездо, built to Zhaga Book 18 standards, plays a critical role in reliable power and signal transfer. But even the most advanced socket can fail if it’s not installed correctly.
Incorrect torque or improper mounting holes can cause:
- Loosening
- Electrical issues
- Early system failure
This guide breaks down the exact torque requirements and mounting practices you need to follow for long-term reliability.

In smart lighting systems, every joint carries importance. A loose розетка can cause intermittent contact or failure. A cracked nut can no longer hold preload. That’s why correct torque is not optional.
Material & Mechanical Considerations
The JL-700 socket switch uses a nylon hex nut made of PA66. Nylon has some elasticity and sensitivity to overloading.
Too much torque can deform the plastic threads. Too little torque can allow loosening under vibration or thermal cycling.
Data for molded nylon fasteners show that beyond a threshold torque, the part yields or deforms. Also, plastic fasteners are often tightened to a portion (e.g., 60–70 %) of their strip torque to maintain safety margins.
Here is a table of typical torque tolerance for plastic fasteners.
| Тип материала | Recommended Torque Range | Typical Strip Torque |
| PA66 (Nylon 6/6) | 2.0–3.0 N·m | 3.5–4.0 N·m |
| Glass-filled Nylon | 3.0–4.5 N·m | 5.0–6.0 N·m |
| Steel | 6.0–10.0 N·m | 15.0+ N·m |
| Aluminum | 4.0–6.0 N·m | 8.0–10.0 N·m |
Recommended Torque Window
Through internal testing and field feedback, the safe and effective torque range for the JL-700 socket is 2.5 to 3.0 N·m. Within this band, you achieve:
- Sufficient clamping force (preload) for mechanical stability
- No damage to the nylon threads
- Resistance to loosening under vibration
Real-World Failures at Low Torque
We have seen thread damage or slippage even at torques as low as 0.6 N·m. The root causes often include:
- Use of non-limited, uncontrolled tools that stall early
- Misalignment during the first engagement
- Under-tightening being mistaken for a hard stop (i.e., cross-threading)
- Manufacturing defects in individual nuts
Because nylon is softer than metal, damage at low torque is easier to incur than one might expect.
Pro Tip: Two-Stage Tightening
To minimize risk and improve accuracy:
- First, hand-align and pre-tighten the nut. Stop when it feels snug but before applying full torque.
- Next, use a torque wrench or controlled electric screwdriver. Set it between the recommended range for final tightening.
This two-step method ensures proper alignment and secure clamping without exceeding material limits.
How To Avoid Installation Mistakes Through Best Practices?

The right tools matter. It’s recommended either to use a torque wrench or a controlled electric screwdriver calibrated to the JL-700’s spec.
Contrarily, using impact drivers or wrenches can easily over- or under-torque connections. Thus, it’s not recommended. Uncontrolled torque tools are a common cause of failed installations.
Gradual Tightening & Pre-alignment
Misalignment at first engagement often leads to cross-threading or strip damage. To prevent that:
- Start by hand-threading the nut until it seats without force
- Tighten incrementally in stages rather than in one go
- Only apply full torque after the threads are correctly engaged
Verify Nut Integrity via Batch Inspection
Because the JL-700 Жага розетка uses a molded PA66 nylon hex nut, individual units may have molding imperfections. Such defects can weaken thread strength or lead to inconsistent torque behavior. Inspect each batch or sample of nuts for signs of flashing, voids, or malformed threads before use.
Emphasize Installation Discipline for Contractors & OEMs
Even small deviations compound over many installations. Instruct crews to:
- Always follow the two-stage tightening method
- Never skip tool calibration or verification
- Log torque values and reject any torque reading outside the recommended N·m window
By carefully applying the above-discussed considerations, most common installation errors can be avoided—ensuring long-term JL-700 socket reliability.
What Are the Key Dos and Don’ts for Reliable JL-700 Socket Installation?
Field installations often happen under time pressure. That’s where clear, standardized guidance makes the difference. The following summary table serves as a quick reference for engineers, OEM assemblers, and on-site installers. It highlights the critical actions to follow and the common pitfalls to avoid during JL-700 socket switch installation.
| Installation Step | Best Practice | What to Avoid |
| Torque Application | 2.5–3.0 N·m using a torque-controlled tool | Low torque (≤0.6 N·m) or over-torque |
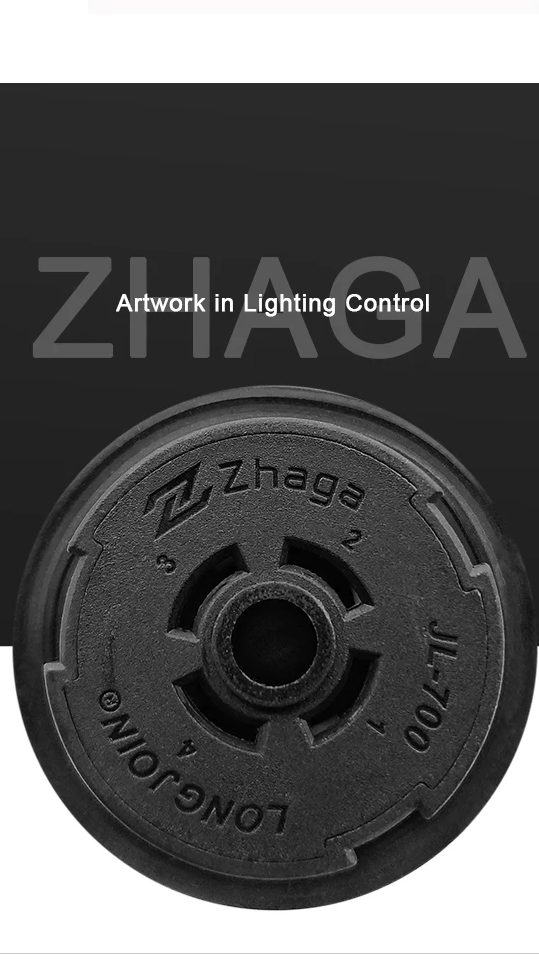
| Mounting Hole | Zhaga-compliant asymmetric (anti-rotation) design | Circular hole without an anti-rotation lock |
| Tool Selection | Torque wrench or electronic screwdriver | Impact drivers / uncontrolled power tools |
| Field Notes | Pre-align → gradual tightening | Cross-threading / one-shot over-tightening |
This structured approach reduces installation variability. It ensures every JL-700 socket is mounted securely, aligned correctly, and tightened to the right torque—leading to stable long-term performance in the field.
Where Can Installers and Engineers Find Additional Technical Support?
Long-Join backs the JL-700 with full technical resources and responsive support. They ensure you never go it alone when designing or installing Zhaga sockets.
You can access:
- Жага-compliant CAD hole drawings to use directly in your luminaire design
- Installation tutorial videos showing step-by-step methods and common pitfalls
- Torque test reports verifying performance across batches
- Multilingual manuals so installers worldwide can follow precise instructions
Further, here is a table for the key Zhaga Book 18 mounting parameters for JL-700.
| Параметр | Specification for JL-700 | Tolerance | Ссылка |
| Mounting hole shape | Asymmetric, keyed (anti-rotation) | ±0.1 mm | Жага Книга 18 |
| Recommended torque range | 2.5–3.0 N·m | ±0.2 N·m | Long-Join torque spec |
| Tab engagement depth | 2.0–2.5 mm | ±0.1 mm | Long-Join CAD file |
| Max hole roughness (Ra) | ≤ 3.2 µm | Н/Д | Жага Книга 18 |
How Should JL-700 Sockets Be Inspected After Installation?
Once a JL-700 Жага розетка is installed, a careful inspection is critical. This is for extended stability and performance. Use the following checklist and steps:
Visual Checks for Alignment and Seating
Start with a close visual inspection to ensure the socket is fully seated. Check for any tilt or visible gaps. The anti-rotation tab must sit firmly in its recess with no looseness.
Anti-Rotation Tab Engagement Inspection
Check for the anti-rotation tab. This should be fully engaged in the asymmetric recess. After de-energizing, gently try to rotate the socket by hand. It should not move. A loose tab can cause rotation over time and lead to failure.
Documentation & Quality Logging for Batch Traceability
Record the following per socket or batch:
- Torque reading logged
- Installer name/date/time
- Nut batch or lot number
- Observations, including alignment, tab fit, and any anomalies
Maintain these records for quality traceability. This documentation supports warranty claims and long-term reliability tracking.
Итог
Correct torque and mounting practices are essential for long-term JL-700 socket reliability. Precision at installation prevents loosening, failures, and warranty issues. For trusted sourcing, Чи-Клятва offers genuine Long-Join JL-700 photocontrollers with full technical support. Their reliable supply ensures every project meets performance and compliance standards.