Describir
- Introducción
- ¿Por qué es esencial la aplicación de par de precisión para el JL-700? Zócalo Zhaga ¿Instalación?
- ¿Cómo evitar errores de instalación mediante las mejores prácticas?
- ¿Cuáles son los aspectos clave que se deben y no se deben hacer para una gestión confiable? Toma JL-700 ¿Instalación?
- ¿Dónde pueden los instaladores e ingenieros encontrar soporte técnico adicional?
- ¿Cómo se deben inspeccionar los enchufes JL-700 después de la instalación?
- El resultado final
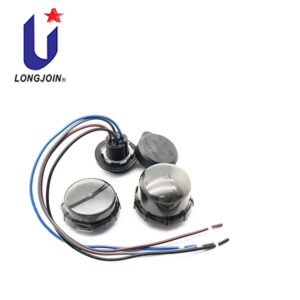
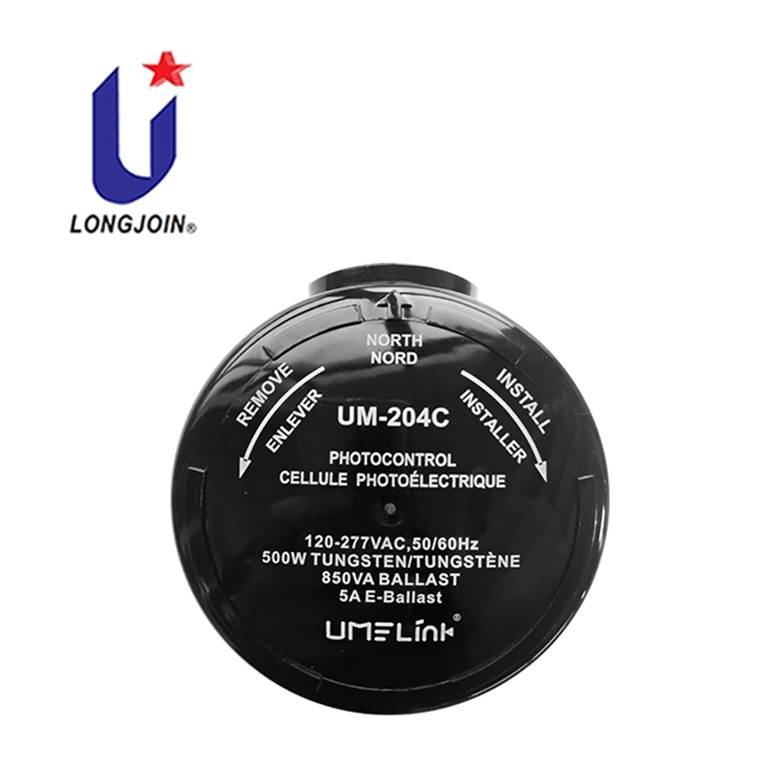
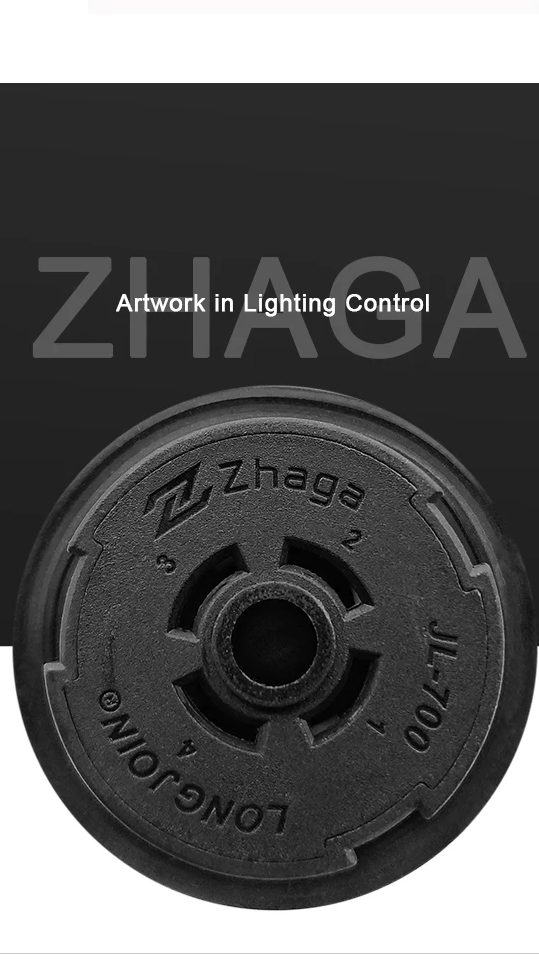
En el alumbrado público inteligente, la precisión en la instalación no es un lujo: es esencial. El JL-700 Zócalo Zhaga, construido para Normas del Libro Zhaga 18, desempeña un papel fundamental en la transmisión fiable de energía y señal. Pero incluso el conector más avanzado puede fallar si no se instala correctamente.
Un par de torsión incorrecto o orificios de montaje inadecuados pueden provocar:
- Aflojamiento
- Problemas eléctricos
- Fallo temprano del sistema
Esta guía detalla los requisitos de torque exactos y las prácticas de montaje que debe seguir para lograr confiabilidad a largo plazo.

En los sistemas de iluminación inteligente, cada unión es importante. Una unión suelta... enchufe Puede causar contacto intermitente o falla. Una tuerca agrietada ya no puede mantener la precarga. Por eso, el par de apriete correcto no es opcional.
Consideraciones materiales y mecánicas
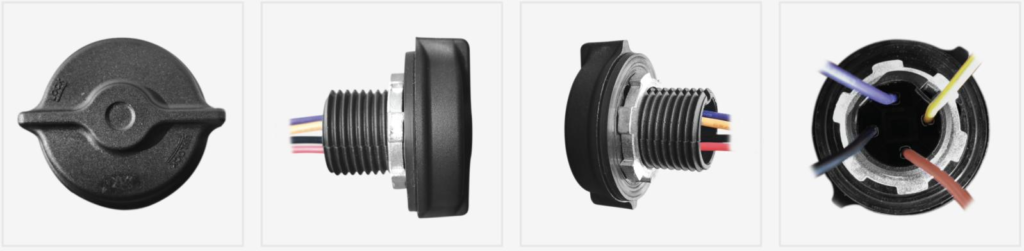
El JL-700 interruptor de enchufe utiliza una tuerca hexagonal de nailon hecha de PA66. El nailon tiene cierta elasticidad y sensibilidad a la sobrecarga.
Un par excesivo puede deformar las roscas de plástico. Un par insuficiente puede provocar que se aflojen por vibración o ciclos térmicos.
Los datos de los sujetadores de nailon moldeados muestran que más allá de un umbral esfuerzo de torsión, La pieza cede o se deforma. Además, los sujetadores de plástico suelen apretarse a una fracción (p. ej., 60–70 %) de su par de apriete para mantener los márgenes de seguridad.
A continuación se muestra una tabla de tolerancia de torsión típica para sujetadores de plástico.
| Tipo de material | Rango de par recomendado | Par de torsión típico de la tira |
| PA66 (nailon 6/6) | 2,0–3,0 N·m | 3,5–4,0 N·m |
| Nailon reforzado con vidrio | 3,0–4,5 N·m | 5,0–6,0 N·m |
| Acero | 6,0–10,0 N·m | 15,0+ N·m |
| Aluminio | 4,0–6,0 N·m | 8,0–10,0 N·m |
Ventana de par recomendada
A través de pruebas internas y retroalimentación de campo, se ha determinado el rango de torque seguro y efectivo para el Zócalo JL-700 es de 2,5 a 3,0 N·m. Dentro de esta banda, se consigue:
- Fuerza de sujeción suficiente (precarga) para estabilidad mecánica
- No daña los hilos de nailon.
- Resistencia al aflojamiento por vibración
Fallas en el mundo real a bajo par
Hemos observado daños o deslizamientos en las roscas incluso con pares de tan solo 0,6 N·m. Las causas principales suelen incluir:
- Uso de herramientas ilimitadas y sin control que se bloquean tempranamente
- Desalineación durante el primer compromiso
- Un apriete insuficiente se confunde con un tope brusco (es decir, rosca cruzada)
- Defectos de fabricación en tuercas individuales
Debido a que el nailon es más blando que el metal, es más fácil que se produzcan daños con un torque bajo de lo que uno podría esperar.
Consejo profesional: ajuste en dos etapas
Para minimizar el riesgo y mejorar la precisión:
- Primero, alinee y preapriete la tuerca a mano. Deténgase cuando sienta que está bien apretada, pero antes de aplicar el par máximo.
- A continuación, utilice una llave dinamométrica o un destornillador eléctrico controlado. Ajústelo dentro del rango recomendado para el apriete final.
Este método de dos pasos garantiza una alineación adecuada y una sujeción segura sin exceder los límites del material.
¿Cómo evitar errores de instalación mediante las mejores prácticas?

Las herramientas adecuadas son importantes. Se recomienda usar una llave dinamométrica o un destornillador eléctrico controlado y calibrado según las especificaciones del JL-700.
Por el contrario, el uso de destornilladores de impacto o llaves inglesas puede provocar que las conexiones se aprieten con demasiada o poca fuerza. Por lo tanto, no se recomienda. Las herramientas con par de apriete descontrolado son una causa común de instalaciones fallidas.
Ajuste gradual y prealineación
La desalineación en el primer enganche suele provocar roscas cruzadas o daños por desgaste. Para evitarlo:
- Comience enroscando la tuerca a mano hasta que se asiente sin hacer fuerza.
- Ajustar gradualmente por etapas en lugar de hacerlo de una sola vez
- Aplique el torque completo solo después de que las roscas estén correctamente acopladas
Verificar la integridad de las tuercas mediante la inspección por lotes
Porque el JL-700 Zócalo Zhaga Utiliza una tuerca hexagonal de nailon PA66 moldeada. Las unidades individuales pueden presentar imperfecciones de moldeo. Estos defectos pueden reducir la resistencia de la rosca o provocar un torque inconsistente. Inspeccione cada lote o muestra de tuercas para detectar signos de rebabas, huecos o roscas deformadas antes de usar.
Enfatizar la disciplina de instalación para contratistas y fabricantes de equipos originales
Incluso las pequeñas desviaciones se acumulan en muchas instalaciones. Instruya a las tripulaciones a:
- Siga siempre el método de apriete en dos etapas
- Nunca omita la calibración o verificación de la herramienta
- Registre los valores de torque y rechace cualquier lectura de torque fuera de la ventana de N·m recomendada
Si aplicamos cuidadosamente las consideraciones comentadas anteriormente, se pueden evitar los errores de instalación más comunes, lo que garantiza la confiabilidad del zócalo JL-700 a largo plazo.
¿Cuáles son los aspectos clave que se deben y no se deben hacer para una gestión confiable? Toma JL-700 ¿Instalación?
Las instalaciones de campo suelen realizarse bajo presión de tiempo. Es ahí donde una guía clara y estandarizada marca la diferencia. La siguiente tabla resumen sirve como referencia rápida para ingenieros, ensambladores OEM e instaladores in situ. Destaca las acciones críticas a seguir y los errores comunes que se deben evitar durante la JL-700. interruptor de enchufe instalación.
| Paso de instalación | Mejores prácticas | Qué evitar |
| Aplicación de par | 2,5–3,0 N·m utilizando una herramienta con control de par | Par bajo (≤0,6 N·m) o par excesivo |
| Orificio de montaje | Diseño asimétrico (antirrotación) compatible con Zhaga | Agujero circular sin bloqueo antirrotación |
| Selección de herramientas | Llave dinamométrica o destornillador electrónico | Atornilladores de impacto / herramientas eléctricas sin control |
| Notas de campo | Prealineación → ajuste gradual | Roscado cruzado / apriete excesivo de una sola vez |
Este enfoque estructurado reduce la variabilidad de la instalación. Garantiza que cada Zócalo JL-700 está montado de forma segura, alineado correctamente y apretado con el torque correcto, lo que genera un rendimiento estable a largo plazo en el campo.
¿Dónde pueden los instaladores e ingenieros encontrar soporte técnico adicional?
Long-Join respalda el JL-700 Con recursos técnicos completos y soporte técnico inmediato, garantizamos que nunca tendrá que hacerlo solo al diseñar o instalar sockets Zhaga.
Puedes acceder a:
- ZhagaDibujos de agujeros compatibles con CAD para usar directamente en el diseño de su luminaria
- Vídeos tutoriales de instalación que muestran métodos paso a paso y errores comunes.
- Informes de pruebas de par que verifican el rendimiento en todos los lotes
- Manuales multilingües para que los instaladores de todo el mundo puedan seguir instrucciones precisas
Además, aquí hay una tabla con los parámetros de montaje clave de Zhaga Book 18 para JL-700.
| Parámetro | Especificaciones para JL-700 | Tolerancia | Referencia |
| Forma del orificio de montaje | Asimétrico, con llave (antirrotación) | ±0,1 mm | Libro Zhaga 18 |
| Rango de par recomendado | 2,5–3,0 N·m | ±0,2 N·m | Especificación de torque de unión larga |
| Profundidad de enganche de la pestaña | 2,0–2,5 mm | ±0,1 mm | Archivo CAD de unión larga |
| Rugosidad máxima del orificio (Ra) | ≤ 3,2 µm | N / A | Libro Zhaga 18 |
¿Cómo se deben inspeccionar los enchufes JL-700 después de la instalación?
Una vez al JL-700 Zócalo Zhaga Una vez instalado, es fundamental realizar una inspección minuciosa. Esto garantiza una mayor estabilidad y un mejor rendimiento. Siga la siguiente lista de verificación y los pasos a seguir:
Comprobaciones visuales de alineación y asentamiento
Comience con una inspección visual minuciosa para asegurarse de que el zócalo esté bien asentado. Compruebe si hay inclinación o holgura visible. La pestaña antirrotación debe estar firmemente asentada en su hueco, sin holgura.
Inspección del enganche de la pestaña antirrotación
Compruebe la pestaña antirrotación. Debe estar completamente encajada en el hueco asimétrico. Tras desconectar el suministro de energía, intente girar el zócalo con cuidado a mano. No debe moverse. Una pestaña suelta puede provocar la rotación con el tiempo y provocar una falla.
Documentación y registro de calidad para la trazabilidad de lotes
Registre lo siguiente por socket o lote:
- Lectura de par registrada
- Nombre del instalador/fecha/hora
- Número de lote o lote de frutos secos
- Observaciones, incluida la alineación, el ajuste de las pestañas y cualquier anomalía
Conserve estos registros para la trazabilidad de la calidad. Esta documentación respalda las reclamaciones de garantía y el seguimiento de la fiabilidad a largo plazo.
El resultado final
Un par de apriete y un montaje correctos son esenciales para la fiabilidad a largo plazo del dado JL-700. La precisión en la instalación evita aflojamientos, fallos y problemas de garantía. Para un suministro fiable, Chi-Swear Ofrece fotocontroladores JL-700 originales de unión larga con soporte técnico completo. Su suministro confiable garantiza que cada proyecto cumpla con los estándares de rendimiento y cumplimiento.