Outline
- Introduction
- What Are Photocell Sensors and How Do They Work?
- Different Types of Photocell Sensors and Their Wiring Needs
- Dusk-to-Dawn Sensors
- Adjustable Lux Level Sensors
- Multi-Circuit Sensors
- Timer-Integrated Sensors
- Key Specifications to Consider When Choosing Photocell Sensor Wiring
- Voltage Compatibility
- Wire Gauge
- Wire Length Limitations
- Number of Conductors
- Materials Needed for Photocell Sensor Wiring
- Step-by-Step Installation Guide: Illuminating Your Project Safely
- The Bottom line
Photocell sensors, also known as dusk-to-dawn sensors or light control sensors, are an intelligent addition when it comes to modern electrical installations. These smart devices smoothly fit into your lighting infrastructure and come with a slew of benefits.
Their applications go much beyond simply outdoor lighting, applying also in neon signs and building automation or even indoor grow light applications. However, while the benefits of the photocell sensors are many, selecting and installing the necessary wiring can be a bit tough at times, leaving conflicting information, technical specifications, and potentially hazardous safety concerns for the homeowner and even the pro electrician.
But fear not, for this comprehensive guide is here to illuminate the path! This will help you comprehensively understand the selection and installation process of Photocell sensor wiring.

What Are Photocell Sensors and How Do They Work?
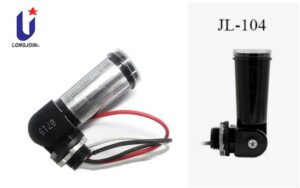
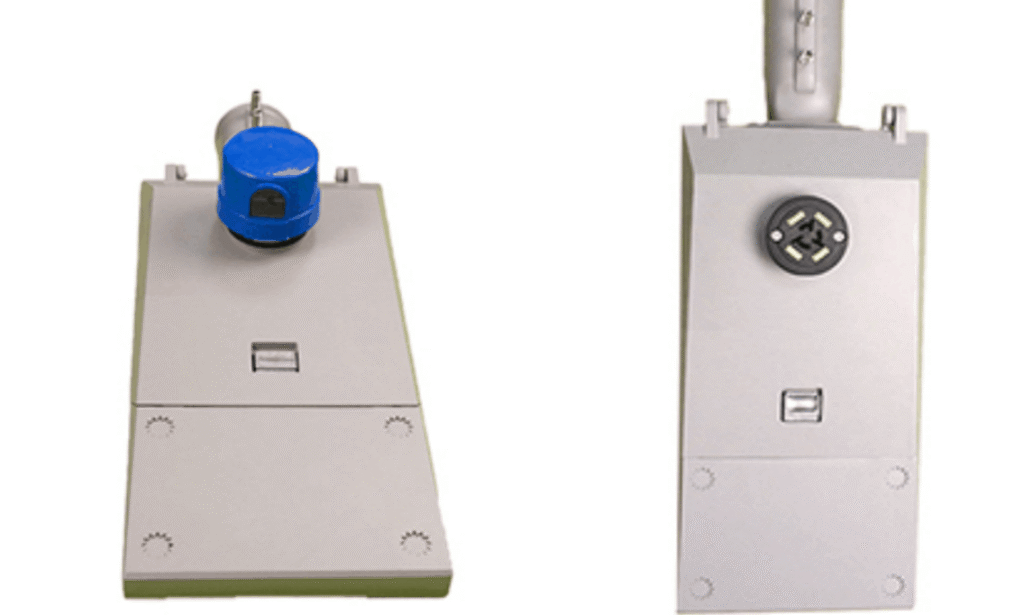
A photocell sensor is an electronic switch having a light-sensitive element built into it. Most of the time, a photoresistor is used as the light-sensitive element of the device, acting just like a small switch, and its resistance varies according to the light that strikes it. The changing resistance within the sensor switches an action, typically an activation of a switch.
Here is the wiring detail. Some photocell sensors have designated terminals where the electrical wiring goes into connection to form a circuit. This wiring can be taken as the communication pathway between the sensor and the lights being controlled.
In the occurrence of darkness, when the photoresistor changes its resistance, a signal is passed through the wire to connect the circuit, complete itself, and illuminate the lights. On the other hand, as the day commences, light levels rise, and the photoresistor’s resistance decreases, sending a different signal through the wiring that mandates the circuit to break and switch off lights.
In simple terms, the wiring is the messenger that takes the signal from the sensor to the lights so that it can react to the change in light conditions. The actual wiring depends on specific sensor types and your setup, but this general principle is critical to the operation of photocell sensors and how they do their magic.
Different Types of Photocell Sensors and Their Wiring Needs
The world of photocell is diverse and does not follow the one-size-fits-all solution. This diversity is mainly due to the existence of different lighting setups, which eventually require various sensor types catering to specific needs. Below discussed are some common photocell sensors and their wiring considerations.
Dusk-to-Dawn Sensors
These workhorses are the most popular type. They simply turn on lights at dusk and turn them off at dawn. Wiring for these sensors is typically straightforward, requiring connection to the power source, the lights they control, and sometimes a neutral wire.
Adjustable Lux Level Sensors
These offer more control. You can set a specific light level (measured in lux) at which the sensor activates. This is useful for areas with some ambient light, like building entrances. Wiring for these sensors might involve additional terminals to adjust the lux level setting.
Multi-Circuit Sensors
These sensors require more complex wiring and are designed to control multiple lighting circuits independently based on different light levels. They may have separate terminals for each circuit and additional controls for adjusting individual lux levels.
Timer-Integrated Sensors
These combine a photocell sensor with a built-in timer. You can program them to turn lights on/off at specific times, regardless of light levels, offering additional control for security or timed lighting effects. Wiring for these sensors will involve connections for both the photocell and timer functionalities.
Remember, it’s crucial to consult the specific manufacturer’s instructions for your chosen photocell sensor to understand its exact wiring requirements. The instructions will detail the number and purpose of each terminal on the sensor, ensuring a safe and successful installation.
Key Specifications to Consider When Choosing Photocell Sensor Wiring

The key specifications to consider when selecting the correct photocell sensor wiring go beyond connecting a few pieces of wire. There are several determinants of the utmost importance which need to be in place to ensure that an installation is safe and efficient. Some critical ones include:
Voltage Compatibility
A photocell sensor, like any other electrical device, has a specific voltage rating. Match your wiring to the sensor input voltage requirements (typically 120V or 240V AC). Mismatch voltage can either damage the sensor or become a safety issue.
Wire Gauge
The thickness of the wire conductor is the wire gauge. Use the wire gauge rating supporting the electrical load (wattage) of your lights to be controlled by the sensor.
Using a smaller-gauge wire than recommended could lead to overheating and potential fire hazards. A wire gauge chart or the manufacturer’s manual will help to determine which gauge is required for the application.
Wire Length Limitations
Photocell sensors provide the capability to turn on lights located at distances automatically; however, the length of the wire is limited. Too much wire length may result in a voltage drop to the lights, resulting in dim lights, or to the sensor, which may cause the sensor not to function at all.
Most manufacturers will provide a maximum recommended wire length for their sensors. Try to keep the wiring as straight as possible for maximum performance.
Number of Conductors
How many wires you will require will depend on the type of sensor you have and also your configuration. Dusk-to-dawn sensors will only need a three-wire setup (hot, neutral, and ground) when essential. More advanced sensors will have more than three conductors when designed with settings or a timer option. For the exact number, see the sensor’s documentation.
It is important to consult these specifications so that you can be sure that you have the right photocell sensor wiring to use for the project. When in doubt, it is better to err on the side of caution and get an opinion from a qualified electrician regarding the best wiring to pick for your specific needs.
Materials Needed for Photocell Sensor Wiring
Before you start the installation process, ensure you have a basic electrician’s toolkit. This includes wire strippers for safely removing wire insulation, screwdrivers for connecting wires to terminals, and electrical tape for proper insulation after connections are made.
Selecting the appropriate wiring is crucial. Chiswear, the leading manufacturer of high-quality photocell sensors, recommends consulting a wire gauge chart to determine the correct thickness (gauge) based on the wattage of your lights and the planned wiring distance. Remember, a thicker gauge can handle higher loads and minimize voltage drop over longer distances.
For more intricate lighting control, you might require additional components. Depending on your chosen sensor and desired functionality, this could include wire connectors (like wire nuts) for simplifying connections, relays for controlling high-wattage loads that exceed the sensor’s capacity, or timers for adding specific on/off schedules independent of light levels. We’ll explore these components further when discussing advanced setups.
Step-by-Step Installation Guide: Illuminating Your Project Safely
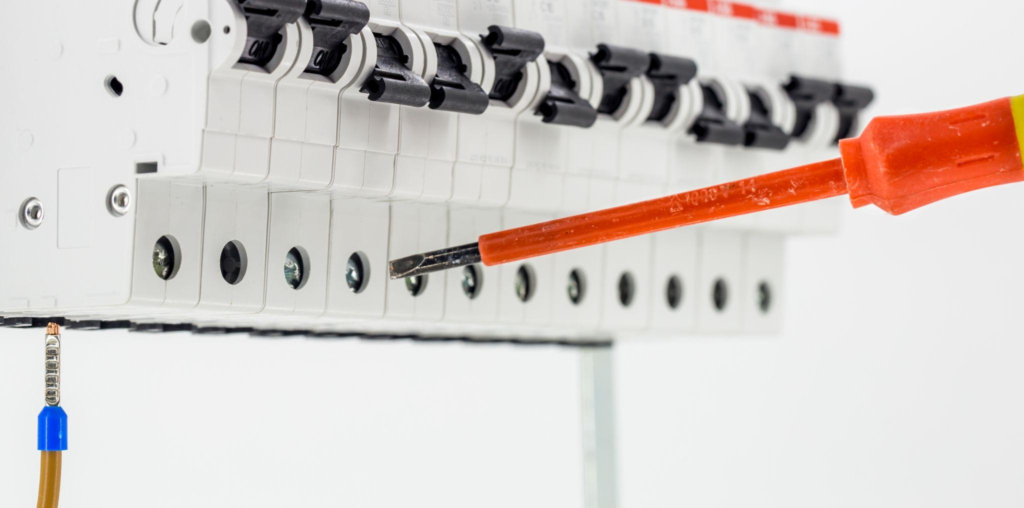
Turn Off the Power: Always ensure that the circuit you will be working on is de-energized entirely on the breaker box before any electrical work.
Strip the Wires: Use a wire stripper to strip a small section of insulation carefully (check the manufacturer’s recommendations for proper length) from each wire you will connect. Exposing too much wire can be dangerous and may cause shorts.
Follow the Color Code: In most cases, residential electrical wiring follows some variation of the color code for electrical wiring, which includes black for hot, white for neutral, and green or bare for ground. Confirm that you properly connect the wire color to the terminal of the matched color on the photocell sensor and lighting fixture.
Wire the Sensor: Each photocell sensor has a specific wiring arrangement. Refer to your manufacturer’s installation document to identify the terminals and the connections to which they are assigned.
Fasten the Connections: After leading the wires deep into the terminals, use a screwdriver to tighten all the terminal screws properly and securely to get a good connection.
Wiring of Lights: In the same way as already practiced, connect the wires through color coordination from the photocell sensor into the proper terminals of the lighting fixture for those that are to be activated and deactivated.
Power Up: With all connections double-checked and secure, carefully restore power at the breaker box. Test operational functions. Note that lights will turn on generally at dusk and off at dawn. Suppose it doesn’t consult the troubleshooting section of your sensor manual or contact a qualified electrician.
Remember, this is very general information. Always keep safety at the forefront and consult the specific details for the photocell sensor.
The Bottom line
Mastering the selection and installation of photocell sensor wiring ensures efficient, reliable lighting systems. By following this guide, you can achieve optimal performance and longevity for your setup. For high-quality photocell sensors, we recommend Chiswear photocells, which are known for their durability and precision.


